|
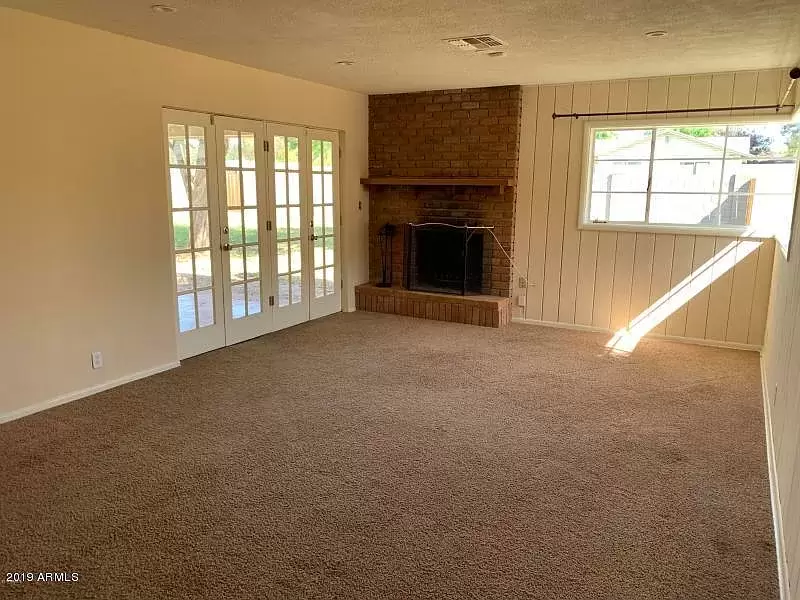
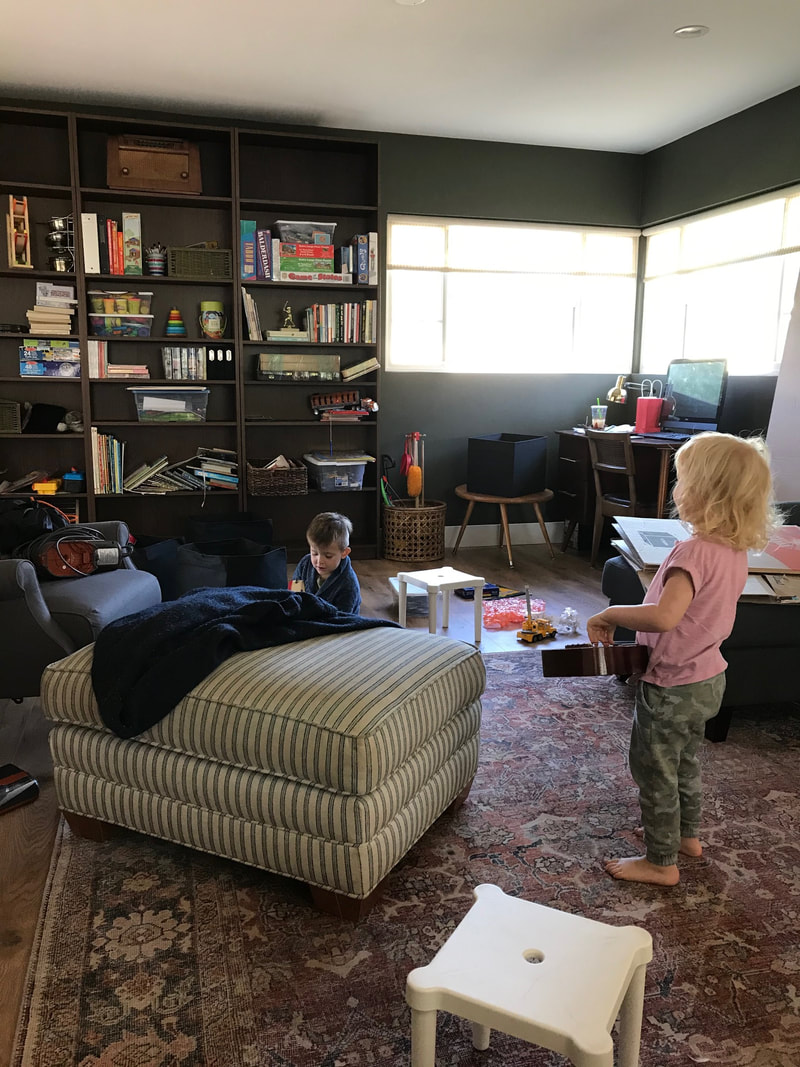
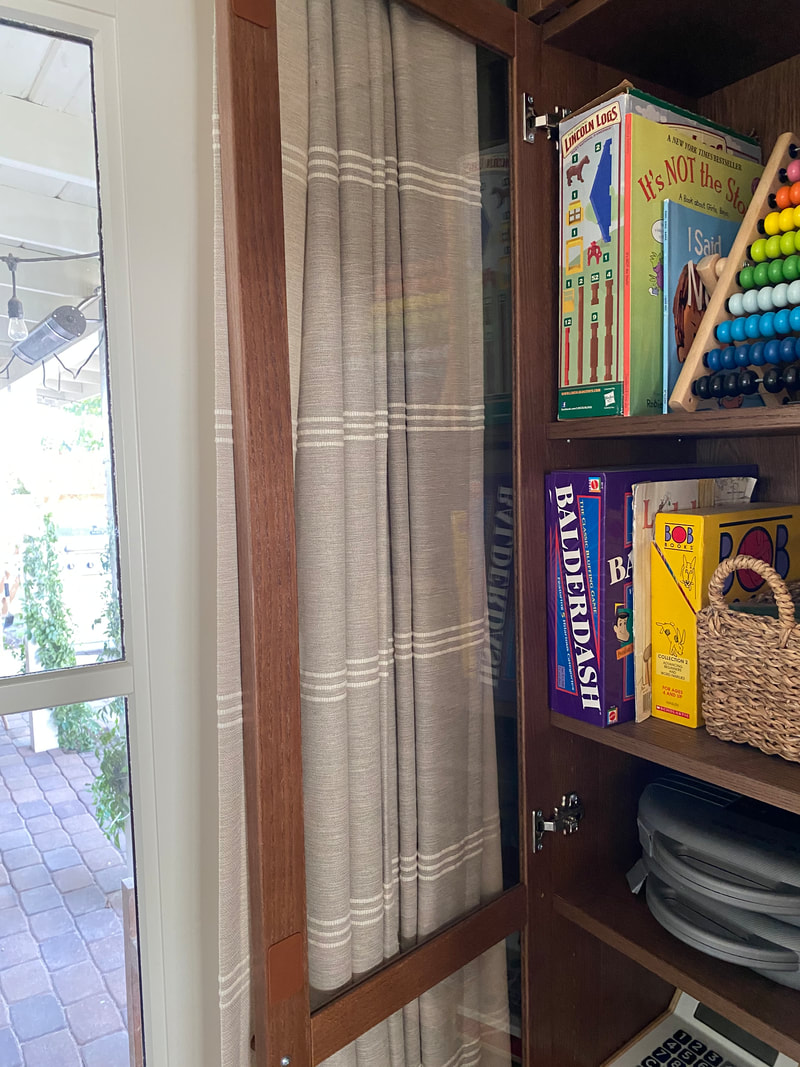
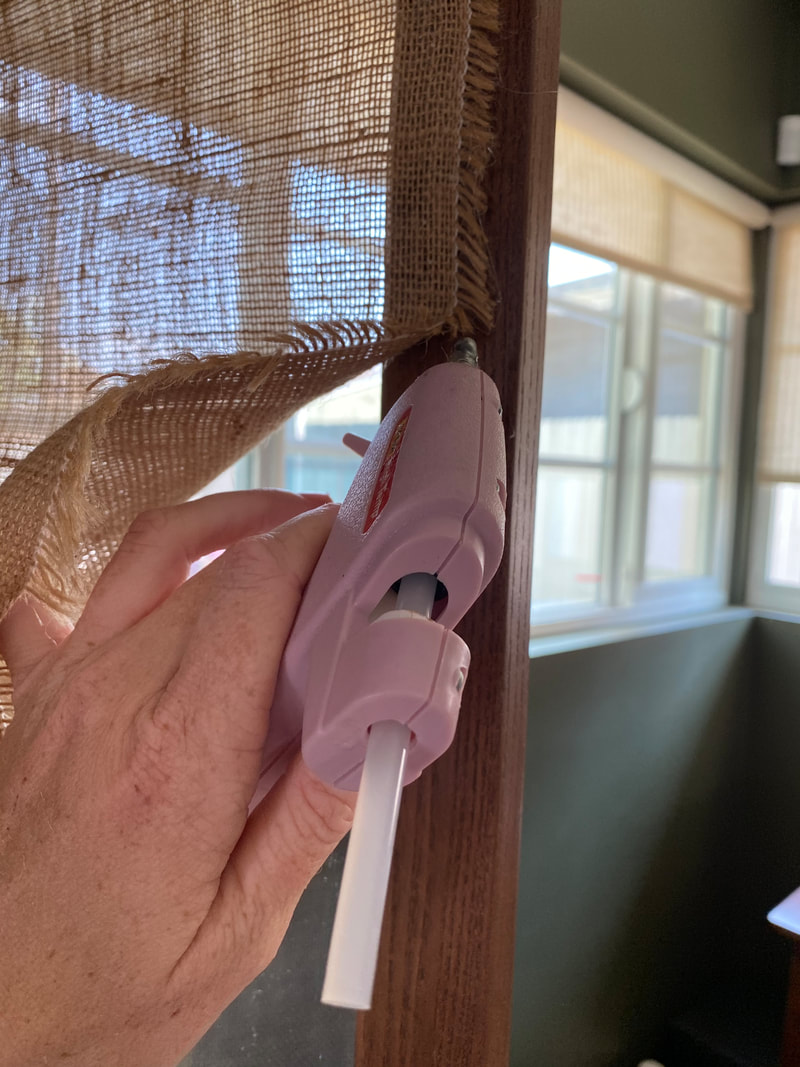
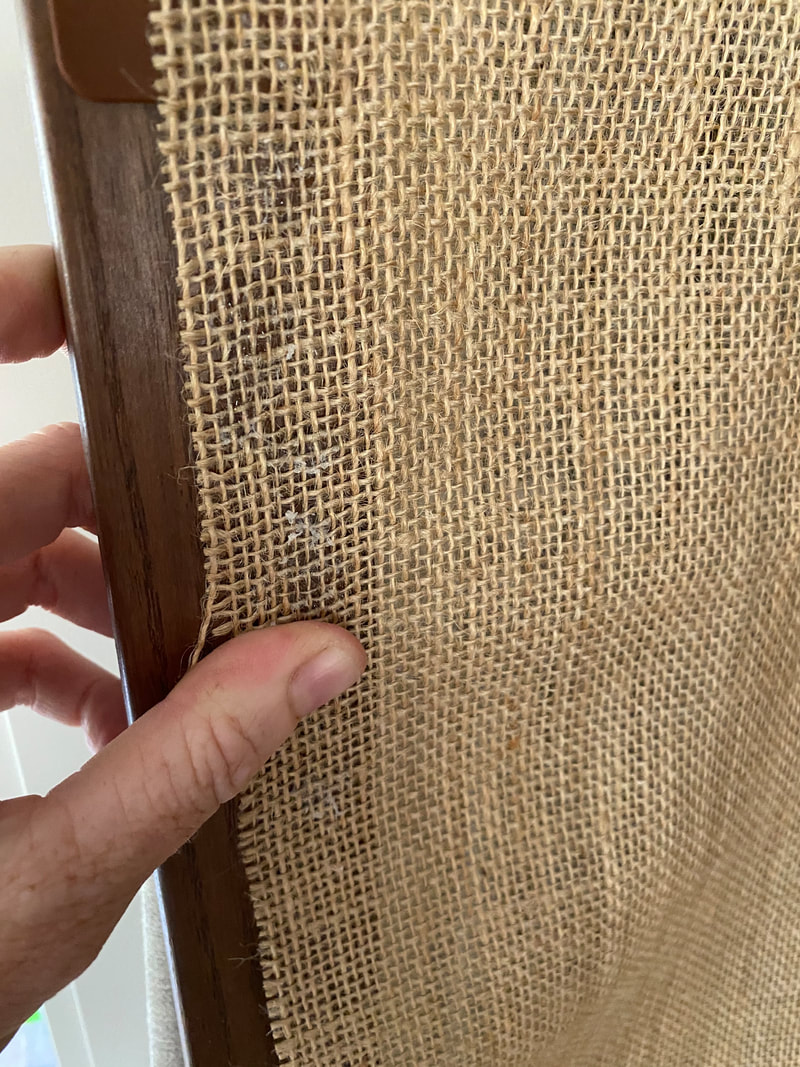
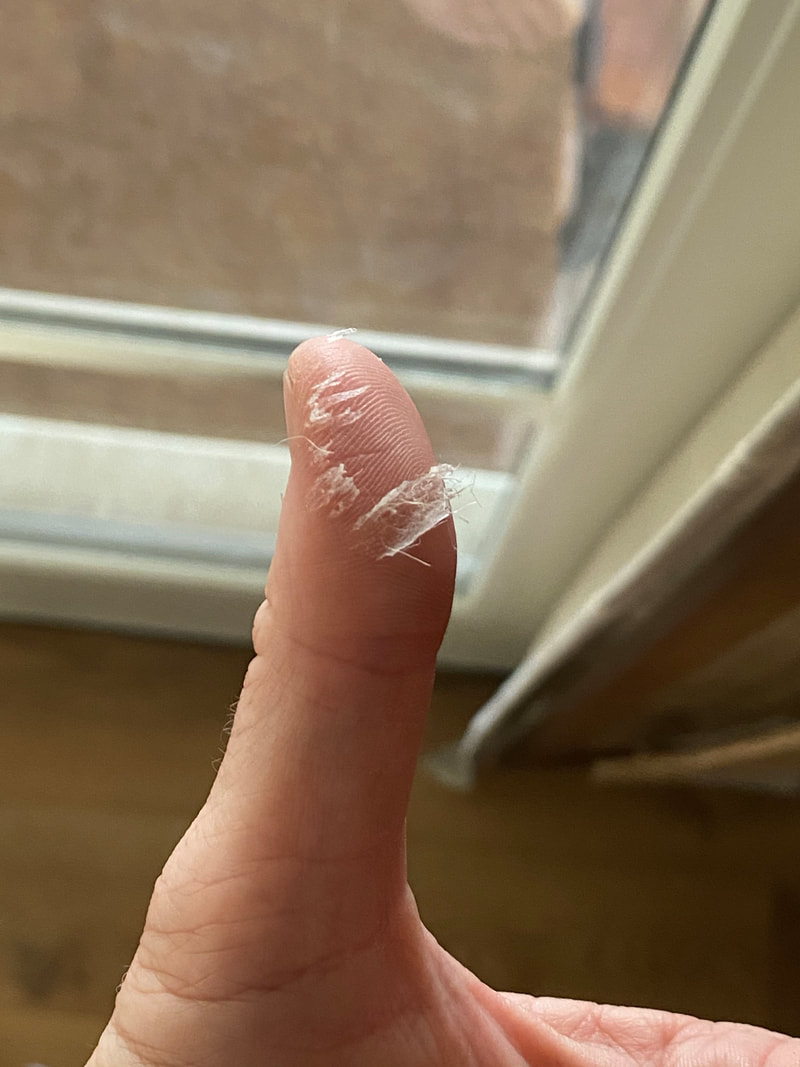
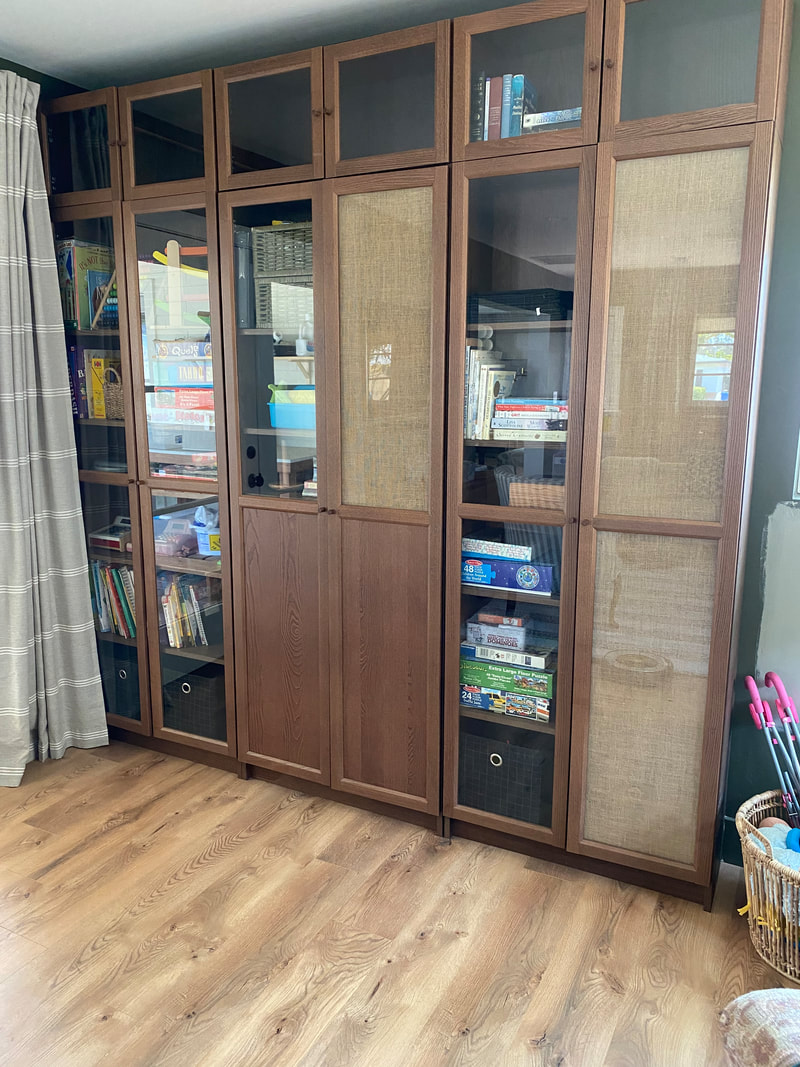
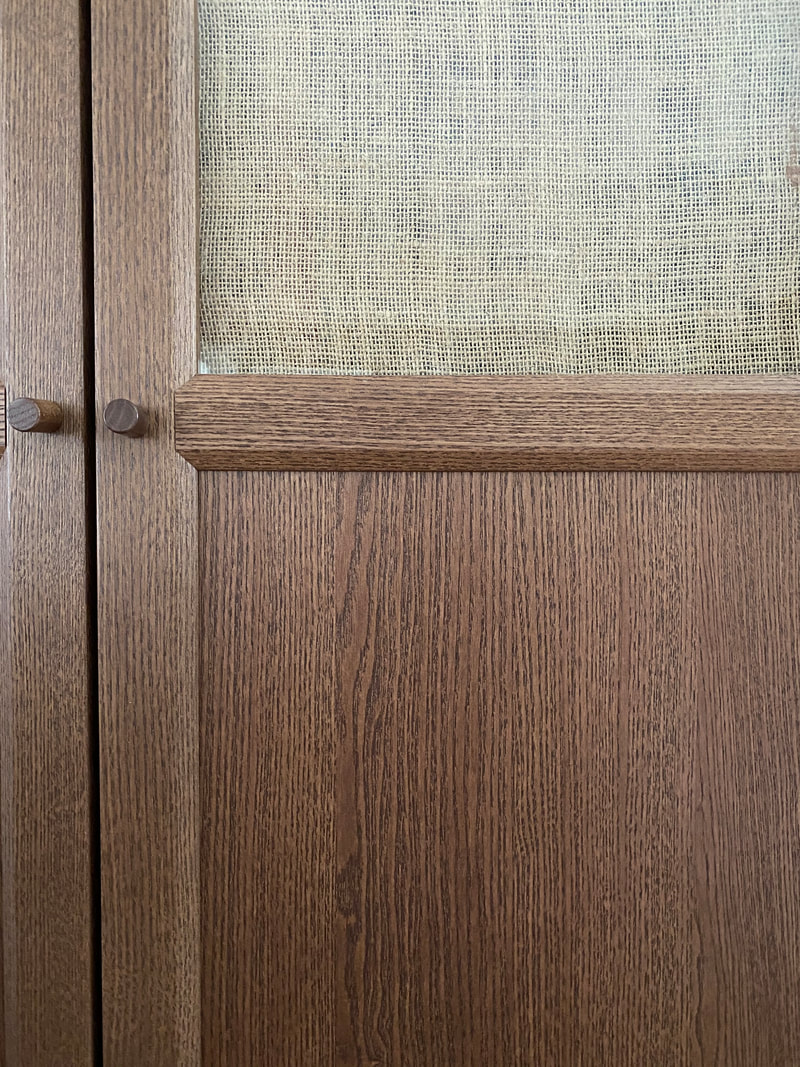
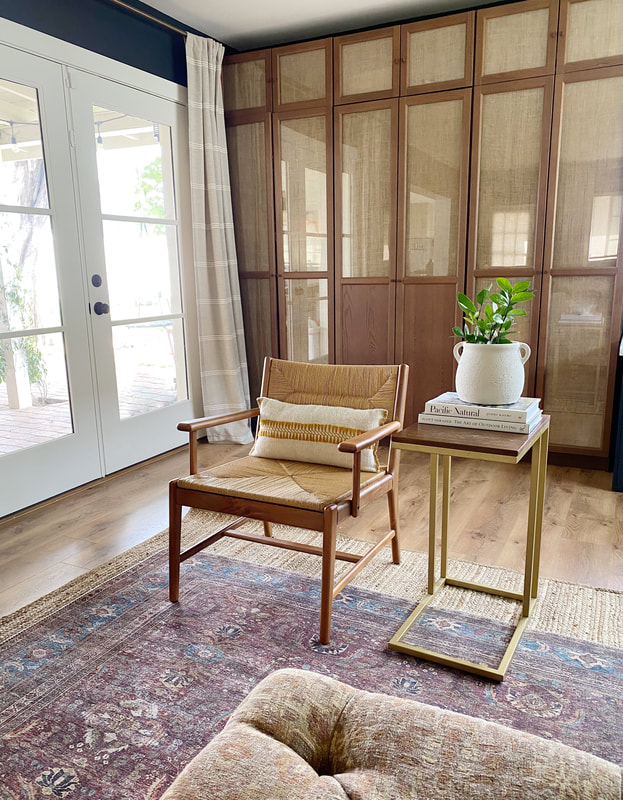
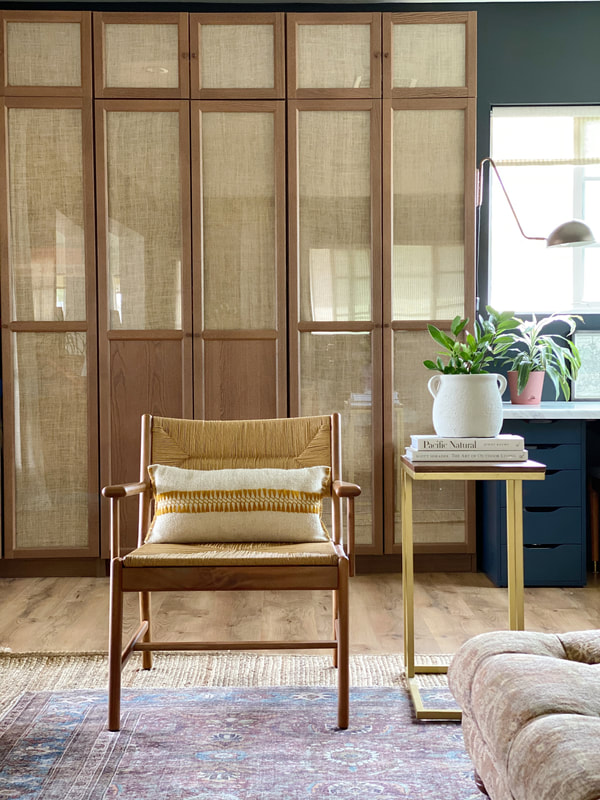
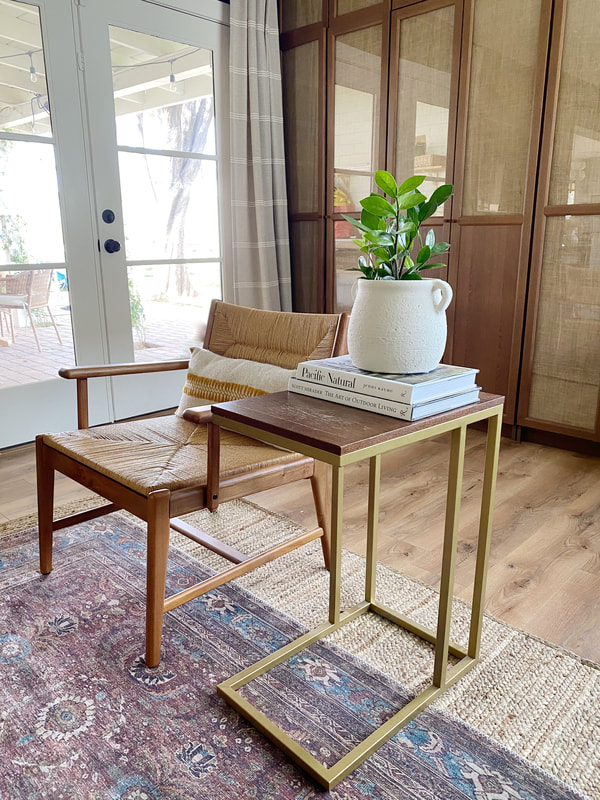
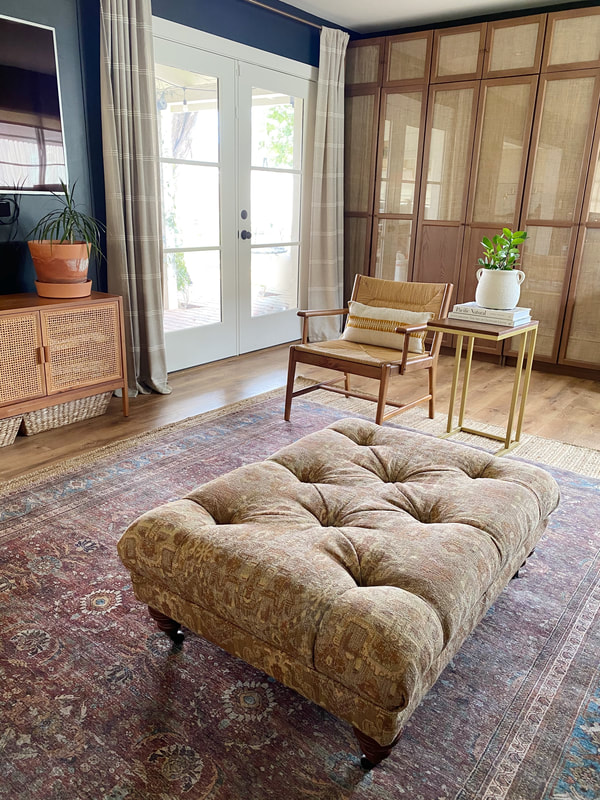
It’s so odd, (and exciting), to be blogging again! I don’t know if you many of you know, but I’m more of a do it yourself designer. Meaning, I design for a lot of people like my husband and I who are go getters who don’t mind some elbow grease. But never have I received so many messages regarding a DIY project as this IKEA Billy Bookcase Hack. When we moved into this house a year ago, I knew that we needed a large wall of built ins to house our family’s toys and books. For the size of our home, we didn’t have a ton of storage, the funky fireplace was in awful condition which was throwing off the symmetry of the wall. We knew that we wanted some storage and possibly a desk or bench so the kids could color and work on projects (more on that later). My original inspiration for the space was this gorgeous room by Workstead which I found on Pinterest. 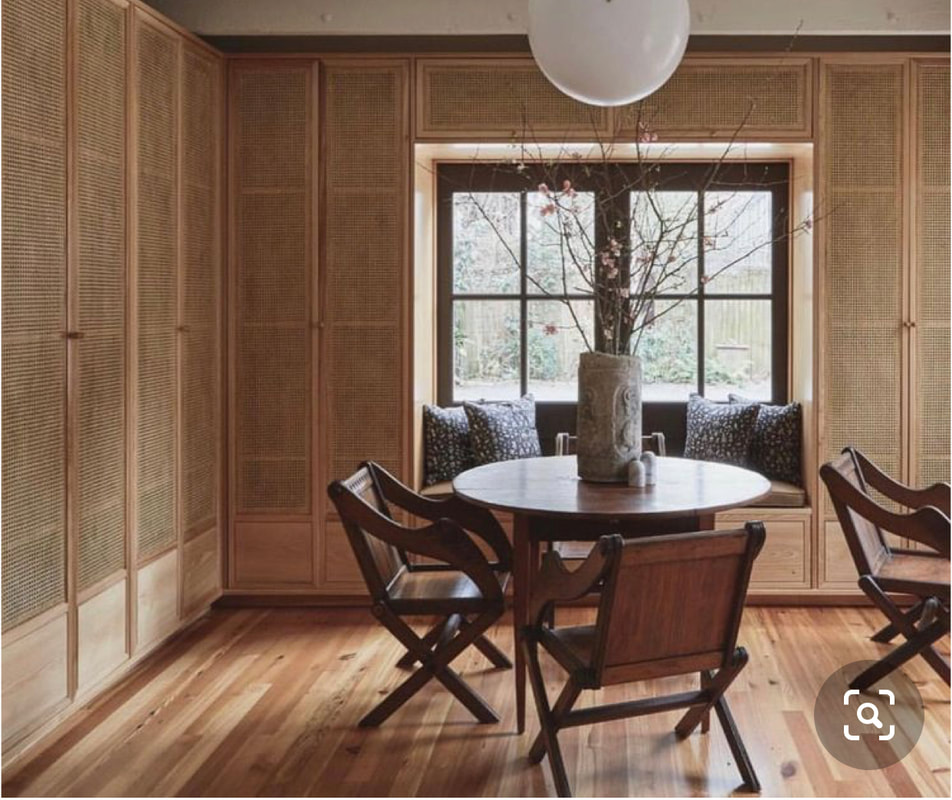 But of course, as many remodelers know, we were at the end of our project and were basically out of funding for custom built ins. In comes good old Ikea, right? This was our original room: We started off by removing and drywalling the old fireplace. Next, we installed three of the wide Billy cabinets and eventually added the glass doors. But I still felt like I wanted to hide the bins and books that inevitably became disorganized. I didn’t want our playroom to feel like it had to be perfect, but since this space doubled as our family room, I also wanted the ability to hide everything away when the kids headed to bed. For months I had been researching how to install and work with caning. I found that it was really expensive and also seemed a bit daunting. Not to mention that my interior staple gun wasn’t even able to penetrate the wood of the bookcase. So, I found some old burlap in my fabric drawer and decided to give it go. Here is what it looked like before (a week into move in): I cut the burlap fabric into strips and pulled out the glue gun, not really knowing if it would hold, but it worked right away, which was a huge relief! I added a line of glue and then basically used quite a bit of pressure with my fingers to seal the burlap to the glue. It definitely burned, but wasn't too bad and I couldn't really figure out another way to adhere the fabric quickly. I suppose I could have used gloves in hindsight. Things went slowly at first, but then I got the hang of it and I was able to move a bit quicker. I noticed that a few things sped up the process: - Pre-cut your fabric to size so you don't have to keep stopping with each panel. - Use the long glue sticks. You go through A LOT of glue. - Make sure you have enough fabric on hand. I ran out of fabric and had to make a quick trip to Michaels for more, where it was double the price of the fabric store, plus some additional glue sticks. So all in all I think I spent about $25 for this project, and it was just the texture and privacy I needed. If you have any comments or questions, please leave them below.
I would love to see if you've done anything similar with your bookcases!
0 Comments
Your comment will be posted after it is approved.
Leave a Reply. |
AuthorNikki ArchivesCategories |

 RSS Feed